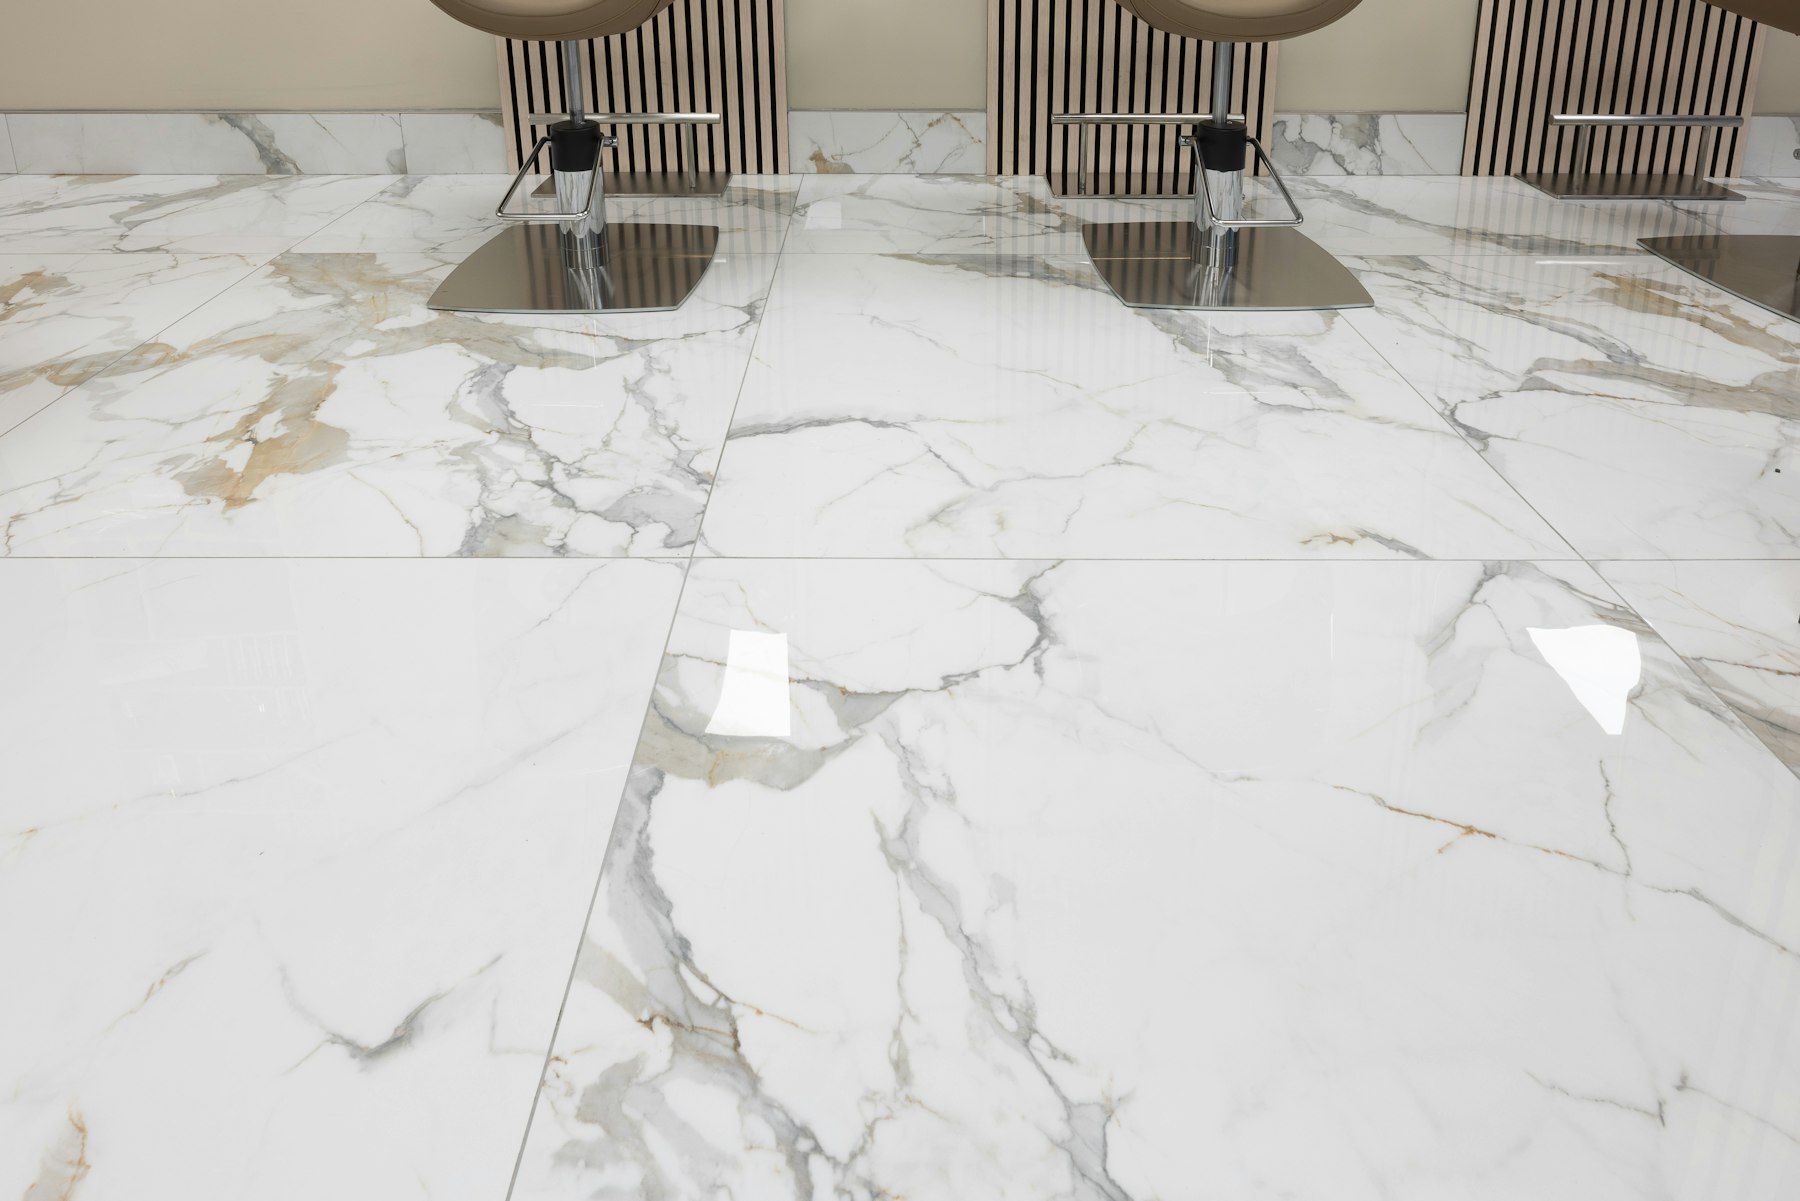
Tiling is where your bathroom’s design becomes visible
Tiles cover almost every surface of a bathroom. They are the first thing you notice when you walk in and the finish you touch every day. Beautiful tiles laid poorly look worse than modest tiles laid perfectly. Uneven grout lines, lippage between tiles, awkward slivers at corners, hollow tiles and water pooling on the floor are all signs of tiling that was rushed or poorly planned.
Our tiling work is part of a complete design-and-build process. We plan every set-out before the first cut, prepare substrates to the flatness that modern tiles demand, and install tiles over a properly cured AS 3740 waterproofing membrane. The result is a room that looks deliberate from every angle.
Planning the set-out
Tile set-out is the arrangement of tiles on each surface: where the first tile starts, where cuts fall and how grout lines align with fixtures, niches, windows and the walls around them. A good set-out is invisible; you simply notice that the room looks balanced.
We plan set-outs by considering:
- Sightlines from the doorway, so the most visible walls have full or balanced tiles.
- Alignment between floor and wall grout lines where the design calls for it.
- Niches, shelves and benches, which are sized to the tile module so they are framed by full tiles or clean, even cuts.
- Tapware and accessory positions, so mixers and rails sit neatly within or centred on tiles.
- Floor wastes and linear grates, so cuts around drains are minimal and falls are uninterrupted.
- Window reveals and edges, so trims or mitres finish cleanly.
Substrate preparation
Tiles are only as good as the surface beneath them. Large-format porcelain, now the most popular choice in bathrooms, is particularly unforgiving of uneven walls and floors. Before tiling, we ensure walls are straight and correctly sheeted, floors are flat or screeded to falls, and all surfaces are clean and sound. On timber floors, we install a stiff fibre cement base to minimise movement. On slabs, we grind high spots and fill low spots so the finished surface is true.
Choosing tiles
Porcelain
Porcelain is dense, low-absorption and hard-wearing, making it our usual recommendation for bathroom floors and showers. It is available in an enormous range of looks, from stone and concrete to timber and terrazzo, in finishes from matt to polished.
Ceramic
Ceramic wall tiles are lighter and easier to cut, and they come in many decorative glazes and shapes. They suit walls outside the shower and feature areas, but are generally less suited to floors.
Natural stone
Marble, travertine and other stones are beautiful and unique, but they are softer and more porous than porcelain. They need sealing, careful cleaning with pH-neutral products and periodic resealing. We explain the commitment honestly before you choose stone.
Mosaics and feature tiles
Mosaics are ideal for shower floors where many falls converge, because the small tiles conform to the screed shape. Finger tiles, handmade-look subway tiles and three-dimensional tiles add texture to feature walls and niches.
Slip resistance
Floor tiles in wet areas should have suitable slip resistance for the location and the people using it. Slip ratings are measured under Australian Standards, and we help you choose tiles appropriate for bathroom floors and shower bases. A highly polished tile might look stunning in a showroom but can be unsafe underfoot when wet.
Large-format tiling
Tiles of 600 by 1200 millimetres and larger reduce grout lines and create a sleek, contemporary look. They require:
- Very flat substrates, often with extra preparation.
- Appropriate adhesive coverage, typically achieved by back-buttering the tile and combing adhesive onto the substrate.
- Levelling systems that reduce lippage between adjoining tiles.
- Careful handling and cutting, sometimes with two people per tile.
- Thought about how the floor falls interact with large, rigid tiles, which may influence where cuts and wastes are placed.
Edges, corners and trims
How tiles finish at external corners and edges has a big impact on quality. Options include:
- Mitred corners, where both tile edges are cut at 45 degrees and joined to create a seamless corner. Elegant, but requiring precision and a durable tile body.
- Metal trims in finishes such as brushed nickel, matt black or brass, which protect edges and can echo tapware.
- Bullnose or finished-edge tiles, where available in the chosen range.
We recommend the right edge detail for each location, considering appearance, durability and safety.
Grout and movement joints
Grout choices
Standard cement-based grout is suitable for many areas and comes in a wide colour range. Epoxy grout offers superior stain and mould resistance and is worth considering in showers and on floors. Grout colour has a major influence on the final look; a close match to the tile creates a seamless effect, while a contrasting grout emphasises the pattern.
Movement joints
Tiled surfaces must have flexible movement joints at changes of plane, such as wall-to-floor and internal corners, around the perimeter and at intervals across large areas. These joints are filled with flexible sealant rather than grout. Omitting them is a leading cause of cracked tiles and grout. We place movement joints according to the relevant Standard and the tile manufacturer’s requirements.
Floors that drain properly
In showers and bathrooms with floor wastes, tiles must follow the screed falls so water drains rather than pooling. With centre wastes, tiles are usually cut in an envelope pattern to create four planes falling to the drain. With linear grates, the floor can fall in a single plane, allowing larger tiles with fewer cuts. We plan the drainage and tile layout together.
Tiling in local homes
In older Beaconsfield and Narre Warren homes, walls are often out of plumb and floors uneven after decades of settlement. We correct these before tiling. In newer homes in Officer and Clyde North, walls are usually straighter, but builder-grade substrates may still need improving to suit large-format tiles. In the hills around Upper Beaconsfield and Emerald, cooler temperatures can extend adhesive and grout curing times, which we account for in scheduling.
Tiling as part of a complete renovation
We do not offer tiling as a stand-alone trade over someone else’s waterproofing, because we cannot guarantee a result where we have not controlled the layers beneath. Our tiling is delivered as part of our complete bathroom, ensuite, laundry and shower conversion projects, where we manage substrate preparation, waterproofing and tiling as a single system.
The process
Design consultation
We discuss your style preferences, review tile options and assess the room’s walls and floors.
Selections and set-out
We help you finalise tiles, grout and trims and plan the set-out for each surface.
Preparation and waterproofing
Substrates are prepared and waterproofed to AS 3740, then allowed to cure.
Tiling and grouting
Tiles are laid to the set-out with appropriate adhesives and levelling systems, then grouted and finished with movement joints.
Handover
We clean the tiles, explain care requirements for your chosen materials and provide documentation.
Book a design consultation
If you want a bathroom where every tile looks intentional, book a design consultation. We will help you choose tiles that suit your home and lifestyle and install them with the precision they deserve.
Tile patterns and layouts
The pattern in which tiles are laid can change the character of a room as much as the tile itself.
Stack bond
Tiles are aligned in a grid with continuous grout lines in both directions. It is crisp and modern, particularly with rectangular tiles laid vertically to emphasise ceiling height or horizontally to widen a narrow room. Stack bond demands very accurate set-out because any misalignment is obvious.
Brick bond
Each row is offset, traditionally by half a tile. It is forgiving and classic, especially with subway tiles. With large rectangular porcelain, manufacturers often recommend an offset of a third or less to reduce lippage caused by any slight bow in the tile.
Herringbone and chevron
Angled patterns add movement and craftsmanship, and look superb on floors and feature walls. They require more cutting and planning, particularly at edges, but the result is distinctive.
Vertical and horizontal emphasis
Running long tiles vertically draws the eye upward, which can make a low-ceilinged bathroom feel taller. Running them horizontally can make a narrow room feel wider. We use this deliberately during design.
Common tiling defects we avoid
Knowing what can go wrong helps explain why preparation and method matter.
- Lippage, where one tile edge sits proud of its neighbour, usually caused by uneven substrates or bowed tiles without levelling systems.
- Hollow or drummy tiles, caused by poor adhesive coverage, which can crack under load or allow water to sit beneath.
- Cracked tiles and grout at corners and junctions, often due to missing movement joints or excessive floor movement.
- Ponding water on floors that were not screeded and tiled to consistent falls.
- Slivers and awkward cuts at visible edges because the set-out was not planned.
- Grout haze left on the tile surface from inadequate cleaning.
Every one of these is preventable with a careful, methodical approach.
Caring for tiled surfaces
Clean tiles and grout regularly with a pH-neutral cleaner and a soft brush. Avoid bleach and acidic products, which can damage grout and some tile glazes. Run the exhaust fan to reduce moisture and inspect silicone joints annually, resealing promptly if they fail.
Ordering and allowances
We help you calculate tile quantities with an allowance for cuts and breakages, and recommend keeping a few spare tiles from the same batch. If a tile is ever damaged, a matching spare from the original batch makes an invisible repair far more likely, since colours can vary slightly between production runs.
Areas we service
- Bathroom Renovations Beaconsfield
- Bathroom Renovations Berwick
- Bathroom Renovations Cardinia
- Bathroom Renovations Clyde North
- Bathroom Renovations Cockatoo
- Bathroom Renovations Emerald
- Bathroom Renovations Gembrook
- Bathroom Renovations Guys Hill
- Bathroom Renovations Harkaway
- Bathroom Renovations Narre Warren North
- Bathroom Renovations Narre Warren
- Bathroom Renovations Officer
- Bathroom Renovations Pakenham
- Bathroom Renovations Upper Beaconsfield
Book a design consultation
Tell us about your bathroom, ensuite or laundry and we will arrange a visit to assess the space and talk through the possibilities.
Book a design consultation